Verify a document
Use the ID verification (Maxsight collects documents) check to confirm whether an individual's proof of identity documents are valid.
To use this check to verify an individual’s address, ensure that:
The documents provided contain proof of address as well as proof of identity, for example, a driver’s license.
Your data provider extracts addresses from documents. It's not possible to use this check with Onfido on the Verify address task because Onfido does not extract addresses from documents. Maxsight supports these document types when Onfido is the data provider: Passports, driving licenses, state IDs, and voter IDs.
Upload a document for verification
To upload a document for verification through the ID verification (Maxsight collects documents) check:
Go to a profile's Verify address or Verify identity task.
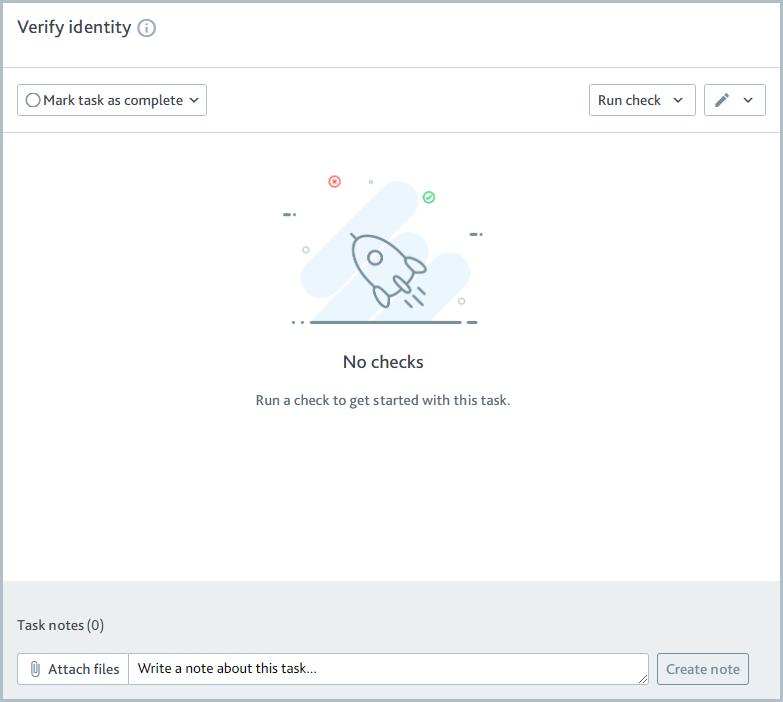
Select and select an option under Document verification. The Upload document for verification dialog is displayed.
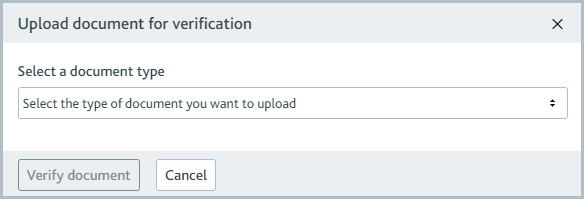
Select the type of document you're verifying from the drop-down. The options to add the document files, for example, front of document, back of document, selfie of document owner, are displayed.
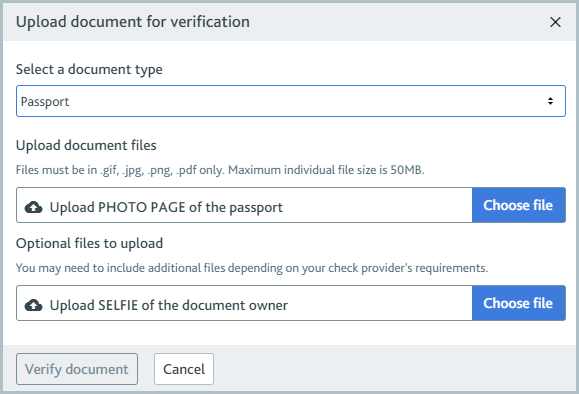
To learn what document types your data provider supports, see the article for your data provider: idvcheck, Onfido, GBG ID3global. The document files are different, depending on the document type.
The required file(s) are displayed under Upload document files. For each required file, select and select the file.
The optional file(s) are displayed under Optional files to upload. To add an optional file, select and select the file.
To change a file you've added, select the Delete button
 next to the file name, then select and select the new file.
To edit a file you've added, select the Edit button
 next to the file name and make any of the following changes:
To change the magnification, select or .
To rotate the image, drag the slider left or right.
To crop the image, drag the corners or sides of the selection window.
To reposition the image, click inside the selection window and drag it to the new position.
Select to save your changes.
Select .
If you have manual verification configured, an error is returned and a message is displayed saying, "Manual check only". To approve/reject the document, choose and select or .
If you have a data provider configured to run the check, the files are submitted to them so they can check for signs of forgery. The check results are displayed on the task.
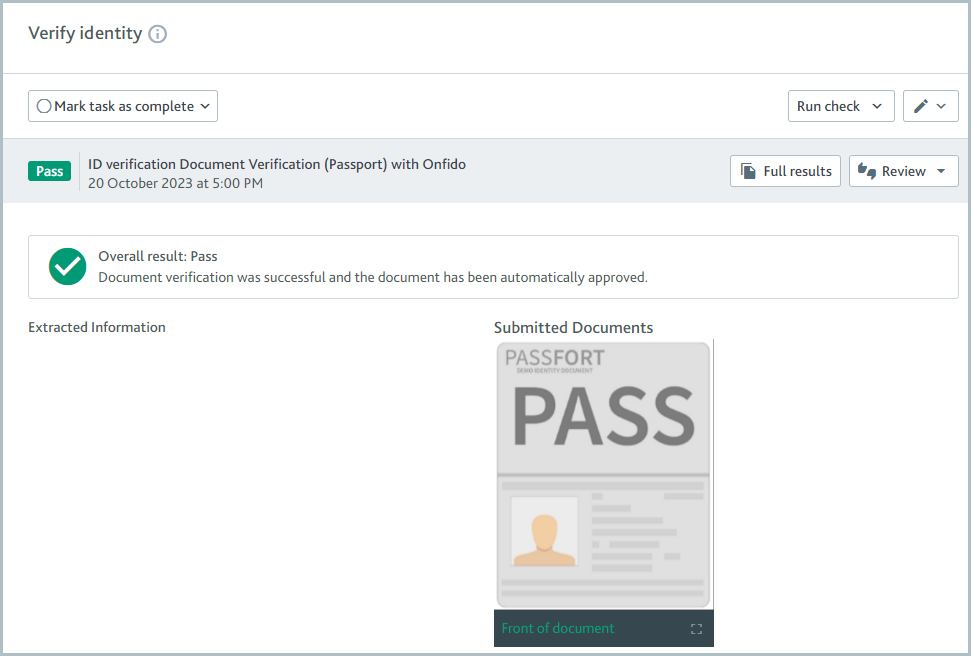
Check results depend on which data provider is used for the check variant. For more information, see the data provider articles: idvcheck, Onfido, GBG ID3global.
Edit or change the document files
If the data provider fails the check, an error message is displayed saying Document verification failed.
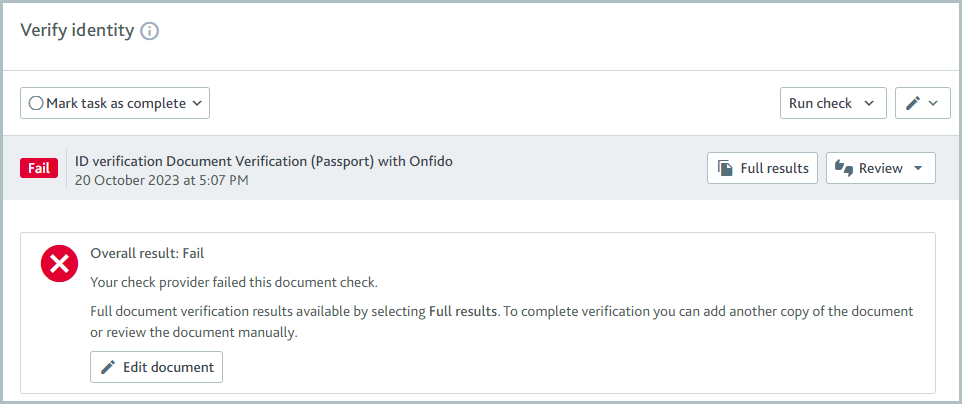
To edit or change the document files and submit them to the data provider again:
Select . The Edit document for verification dialog is displayed with the option to edit or change any of the files that were originally uploaded for the check.
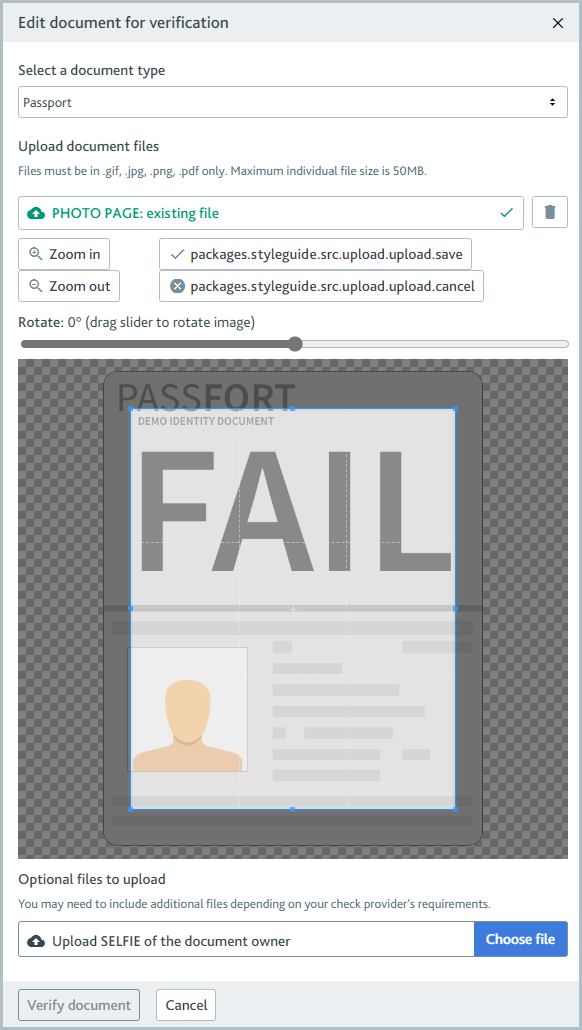
To change a file, select the Delete button
 next to the file name, then select and choose the new file.
To edit a file, use any of these tools:
To change the magnification, select or .
To rotate the image, drag the slider left or right.
To crop the image, drag the corners or sides of the selection window.
To reposition the image, click inside the selection window and drag it to the new position.
Select the button after the file name to save your changes.
Select . The files are resubmitted to the data provider, and the new check results are displayed on the task.